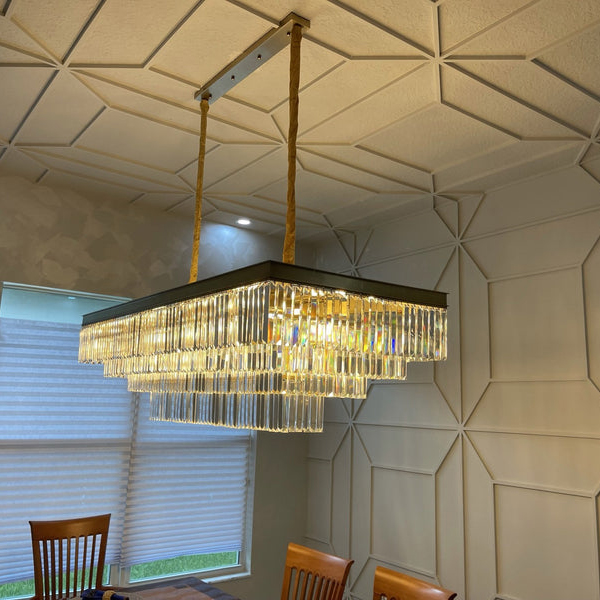
Installing a crystal chandelier can seem daunting, but with the right tools and instructions, it can be manageable. Here’s a step-by-step guide to help you install a crystal chandelier safely and securely:
Tools and Materials Needed:
Chandelier and Components: Ensure you have the chandelier with all its components, including crystals, bulbs, mounting hardware, and any additional parts provided.
Ladder or Step Stool: Depending on the height of your ceiling, you may need a stable ladder or step stool to reach the installation area safely.
Electrical Tester or Voltage Meter: To ensure the power is turned off to the installation area before starting work.
Screwdrivers: Phillips and flat-head screwdrivers for removing existing fixtures and assembling the chandelier.
Wire Cutters and Strippers: For preparing and connecting electrical wires.
Electrical Tape: To secure wire connections and insulate exposed wires.
Ceiling Bracket or Mounting Strap: Provided with the chandelier or purchased separately, used to secure the chandelier to the ceiling junction box.
Wire Nuts: Used to connect wires together securely.
Step-by-Step Installation Guide:
1. Turn Off Power:
Locate the circuit breaker or fuse box and turn off the power to the area where you will be installing the chandelier. Use a voltage tester to double-check that the power is off before proceeding.
2. Prepare the Area:
Clear the installation area beneath where the chandelier will be mounted. Lay down a drop cloth or protective covering to catch any dropped components or debris.
3. Remove Existing Fixture (if applicable):
If replacing an existing light fixture, remove it carefully. Unscrew the mounting screws or nuts that secure the fixture to the junction box. Disconnect the wires and set the old fixture aside.
4. Mount the Ceiling Bracket:
Install the ceiling bracket or mounting strap that came with the chandelier. Secure it to the electrical junction box in the ceiling using the provided screws. Ensure the bracket is level.
5. Prepare the Chandelier:
Assemble the chandelier according to the manufacturer’s instructions. This may involve attaching arms, installing bulbs, and hanging crystals. Refer to the assembly diagram provided with your chandelier.
6. Connect Wires:
Identify and prepare the chandelier wires by stripping about 1/2 inch of insulation from the ends. Match and connect the chandelier wires (typically black to black, white to white, and sometimes green or copper to ground) to the corresponding wires in the ceiling junction box using wire nuts. Secure connections with electrical tape for added safety.
7. Install Chandelier:
Carefully lift the chandelier and hang it onto the ceiling bracket or mounting strap. Align the mounting screws or hooks on the chandelier with the corresponding holes or slots on the bracket. Ensure the chandelier is stable and securely attached.
8. Secure Crystals and Adjustments:
Attach any dangling crystals or decorative elements according to the chandelier’s design. Make any necessary adjustments to ensure the chandelier hangs straight and level.
9. Test the Chandelier:
Restore power at the circuit breaker or fuse box. Test the chandelier by turning on the light switch. Ensure all bulbs light up properly and there are no issues with the installation.
10. Final Adjustments and Cleanup:
Make any final adjustments to the chandelier’s positioning or crystals as needed. Clean up any debris or packaging materials from the installation area.
Safety Tips:
Work with a Partner: Installing a chandelier can be easier and safer with an extra pair of hands to assist with lifting and positioning.
Follow Manufacturer’s Instructions: Always refer to the specific installation instructions provided by the chandelier manufacturer to ensure proper assembly and safety.
Secure Connections: Double-check all wire connections to ensure they are secure and insulated properly with wire nuts and electrical tape.

By following these steps and safety precautions, you can install a crystal chandelier confidently, adding a touch of elegance and illumination to your space. If you’re unsure or uncomfortable with electrical work, consider hiring a licensed electrician to assist with the installation.

